Operation Base Activity Lab 2
Objective
Create a workflow that gives us the ability to edit the properties of a Person in EmpowerID using the Operation Base Activity.
Credentials
User ID: Test
Password: P@$$w0rd
-
Start the 20331B-NYC-DC-05 virtual machine. Wait for the virtual machine to display the Desktop.
-
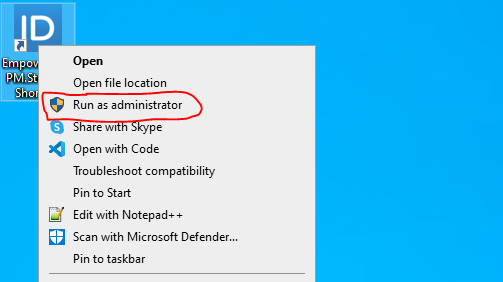
On your Desktop, Right-click on Workflow Studio (WFS), and then click Run as administrator.
-
Wait for WFS to start and enter your credentials.


-
In Solution Explorer, right-click on the Developer Packages folder, create a new folder called “DemoLabs” and click the Ok button.

-
Add New Folder dialog box will appear from it; select the following options.
- User Interface > Lookup Control
- User Interface > Forms
- User Interface > UI Pages
- Workflows > Applications
And click the Ok button.

-
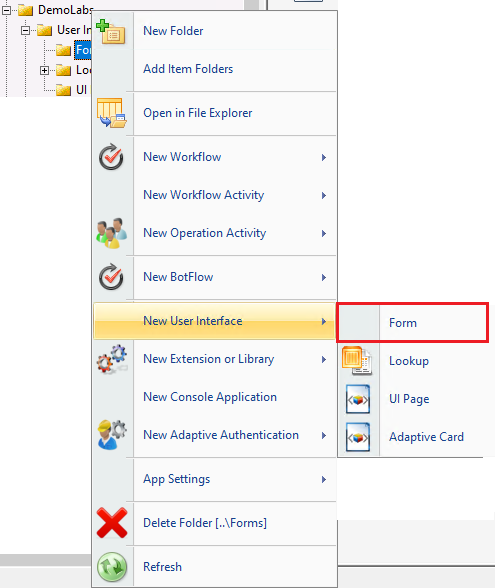
Expand the Developer Packages folder, find the DemoLabs folder, expand it under the DemoLabs folder, expand the User Interface folder right-click on the Forms folder, hover your mouse on the New User Interface option and Click on Form.
-
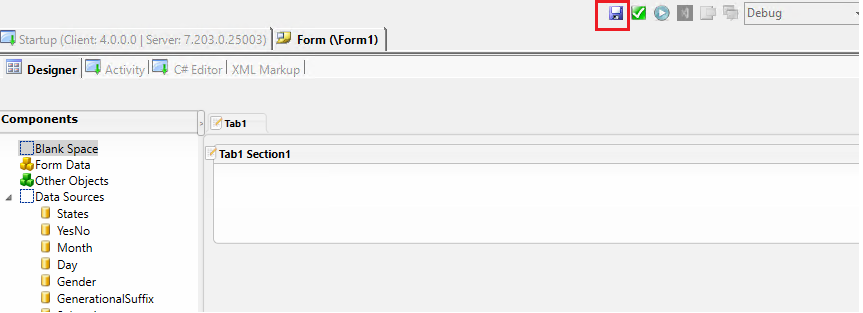
Wait for the Form designer to be loaded.
-
Click on the Save button to save your Form and give it the name Training_EditUserForm.
-
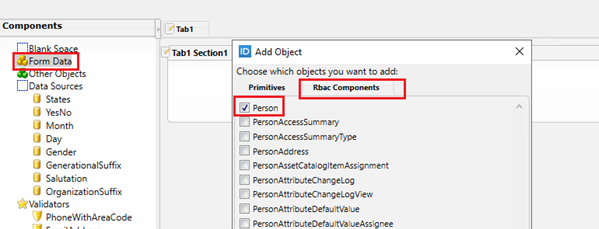
Right-click on the Form Data, then click Add Object and go to the Rbac Components tab. From there, select the Person component and click the Add button.
-
Double-click on Person1 and rename it to ObjectivePerson.

-
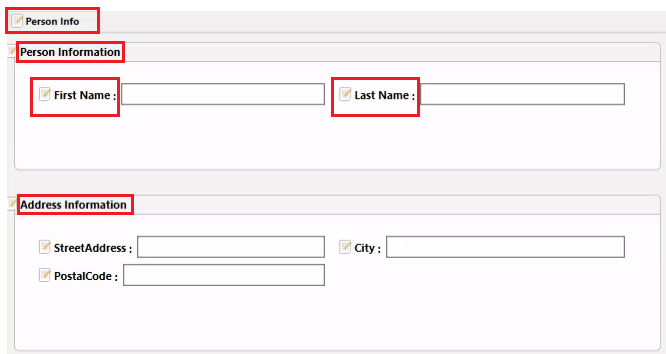
Now expand the ObjectivePerson component and drag and drop the following fields/columns on the Form Designer.
- FirstName
- Last Name
- Street Address
- City
- Postal Code

-
Now double-click on Tab1 and rename it to Person Info, then double-click on Tab1Section1 and give it the name Person Information, then double-click on Tab1Section2 and give it the name Address Information. Lastly, double-click on FirstName and LastName fields and put a space between them.
-
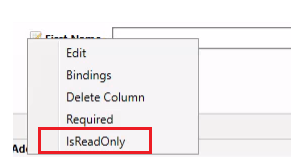
Now right-click on the First Name and Last Name text box one by one and set the IsReadOnly property to true.
-
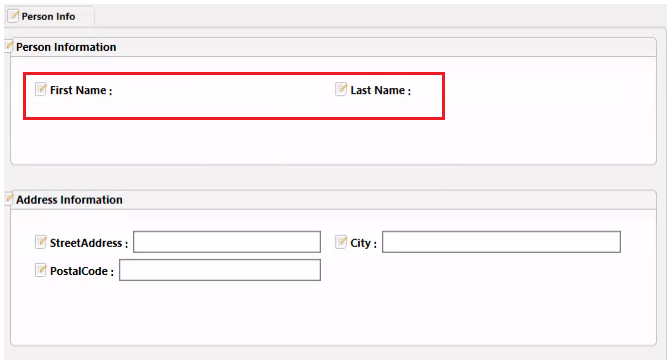
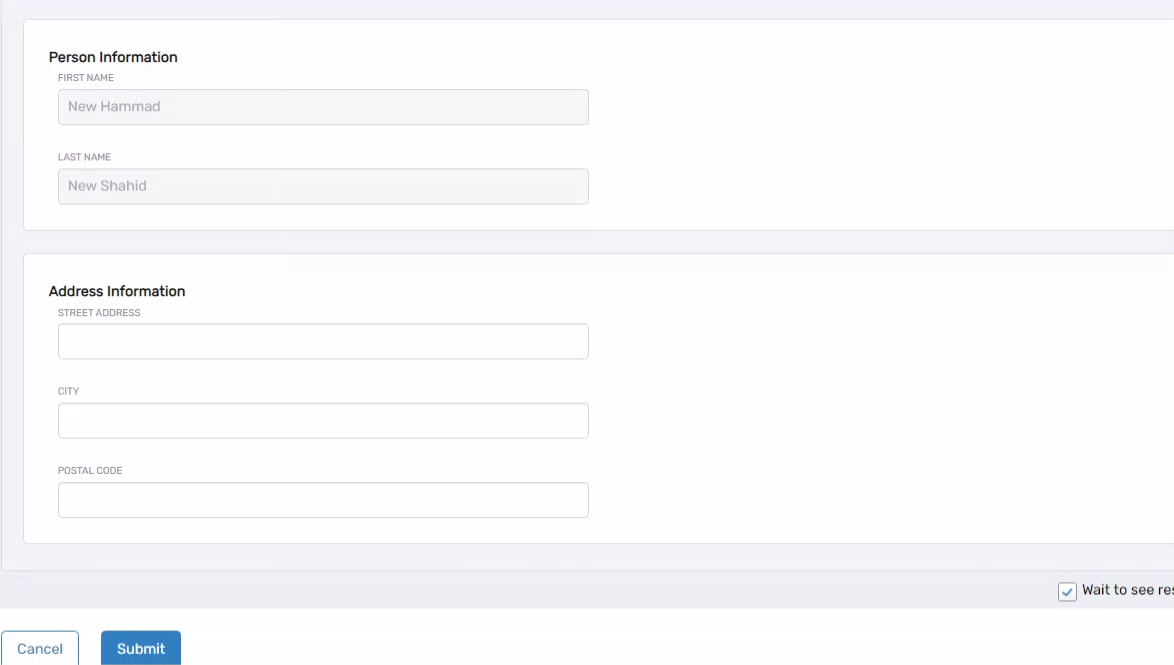
This is how your final form will look like.
-
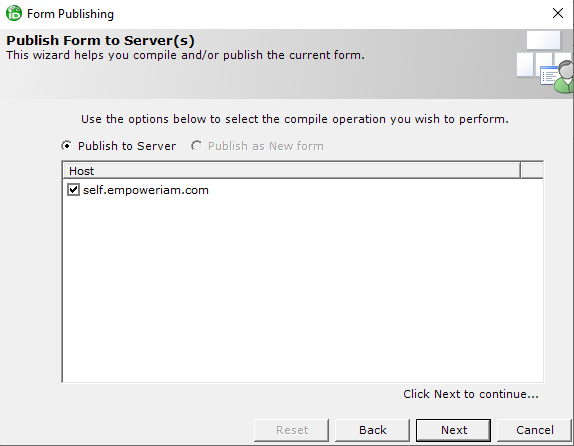
Now click on publish button to publish your Form. The publishing dialog box will appear. Click on the Next button twice to Publish the Form.
-
Once published successfully, click on the Ok button

-
Click Yes when prompted to restart Workflow Studio.

-
Once workflow has been restarted it’s time to create a lookup control.
-
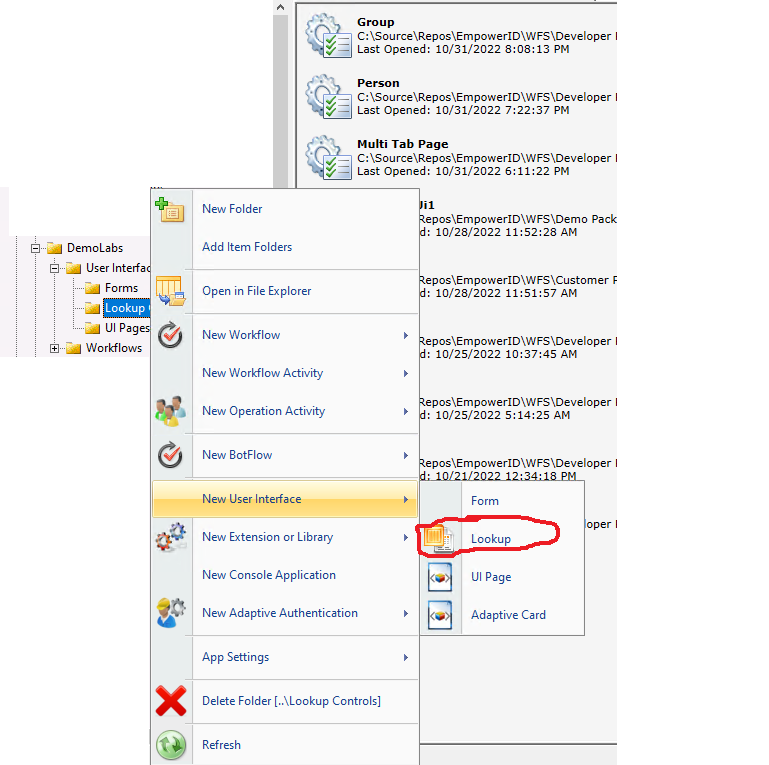
Expand the Developer Packages folder, find the DemoLabs folder, expand it under the DemoLabs folder, expand the User Interface folder right-click on the Lookup Controls folder, hover your mouse on the New User Interface option and Click on Lookup.
-
Wait for the Lookup designer to be loaded.
-
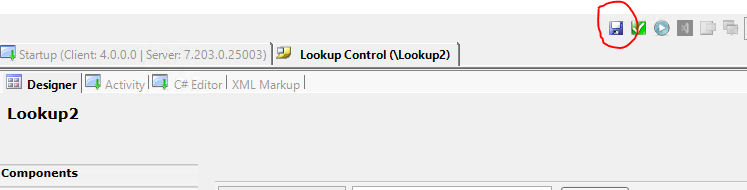
Click on the Save button to save your Lookup and give it the name Training_EditPersonLK.
-
From the Component Object, select PersonView, and from the Data Method, select the GetAllSearchAdvanced method.

-
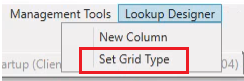
Click on the Lookup Designer from the top bar and select the Set Grid Type option.
-
The Set Grid Type dialog box will appear from the dropdown select the Person and click on the Ok button.

-
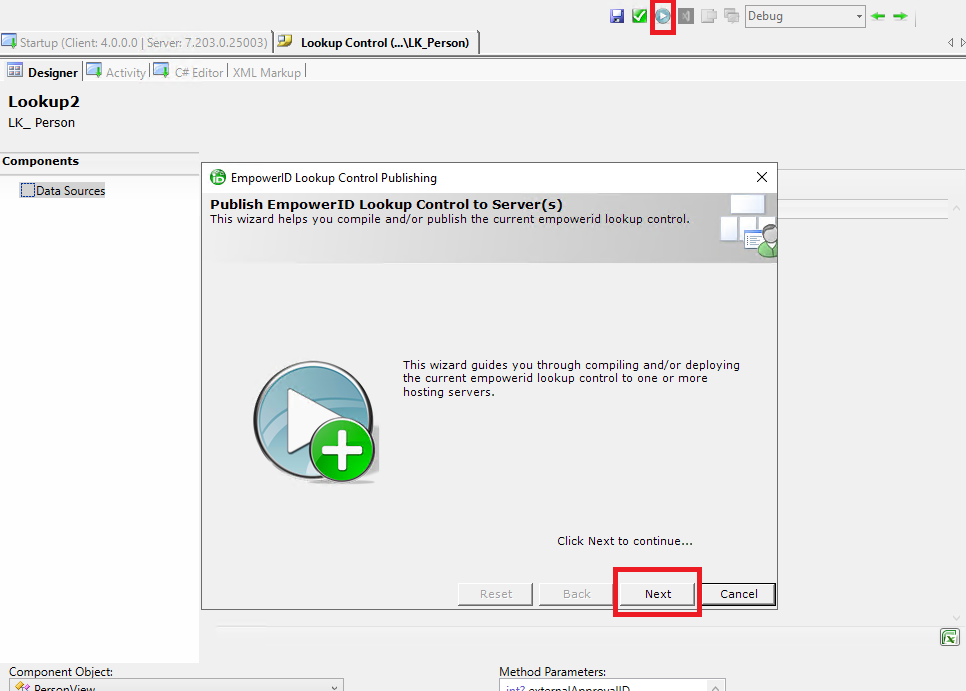
Now click on publish button to publish your Lookup. The publishing dialog box will appear to click on the Next and then Next button again to Publish the Lookup.
-
Once publish successfully click on the Ok button.
-
Now it will ask you to restart the workflow Studio, click on the Yes button.
-
Once workflow studio has been restarted it’s time to create a workflow and placed our forms and lookup controls onto it.
-
Expand the Developer Packages folder, find the DemoLabs folder expand it under the DemoLabs folder, expand the Workflows folder right click on the Applications folder, hover your mouse on the New Workflow option and Click on Flow Chart Workflow.
-
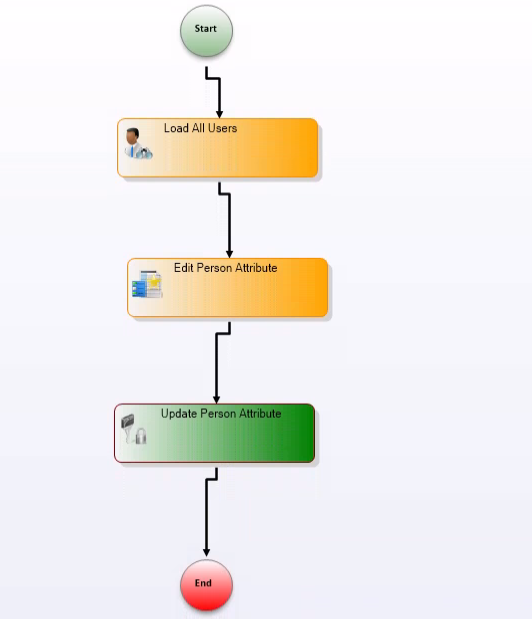
Now, first drag the Lookup control onto your form, and in its description property, write Load All Users and in its Name property write LoadAllUsersLK. Then, drag the Form control onto the form, and in its description property, write Edit Person Attribute and its Name property write EditPersonAttributeForm. Lastly, drag and drop the EditPersonMultiOperations activity onto your form, and in its description property, write Update Person Attribute. Next, connect all three of these activities with lines. Please refer to the screenshot below.
-
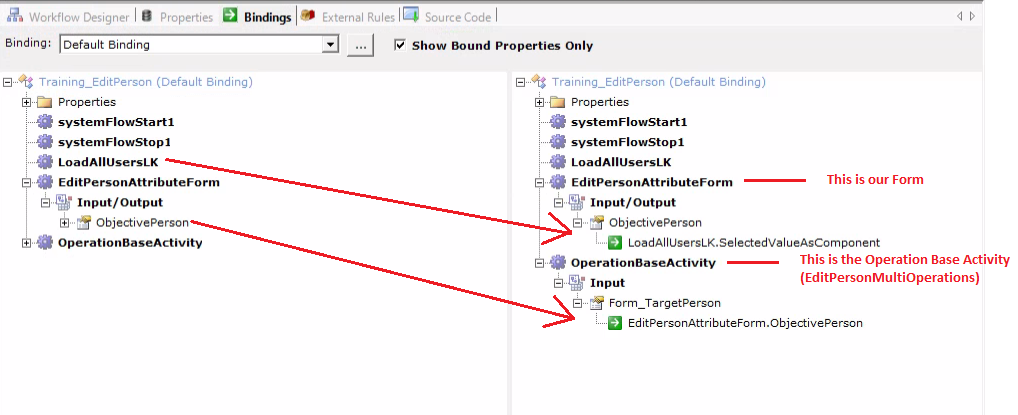
Now, navigate to the Bindings tab and perform the binding as follows. (We've previously learned about bindings in the Bindings module, and we are applying the same process here passing the selected user from a lookup control to our form.) and adding one more binding and that is passing the ObjectivePerson component of our form and binding it to the Form_TargetPerson property of EditPersonMultiOperations.
-
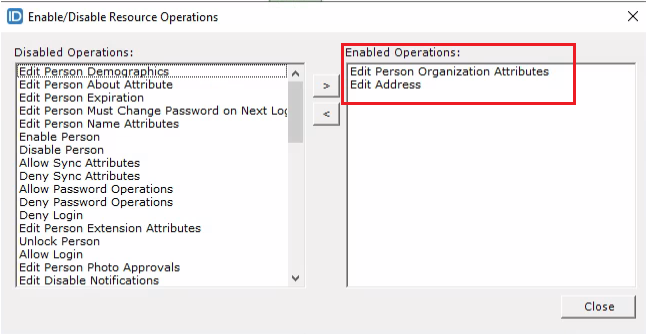
Now right click on the EditPersonMultiOperations activity and choose the Enable/Disable Executing Operations option.

-
From the Enable/Disable Resource Operations dialog box Enable the Edit Person Organization Attributes and Edit Address operations.
-
Now click on the save button to save your Workflow and name it Training_EditPerson
-
After saving it publish your workflow from the Workflow Studio.
-
Now publish your Form, Lookup control and Workflow by going to the EmpowerID Web UI and test your workflow.
-
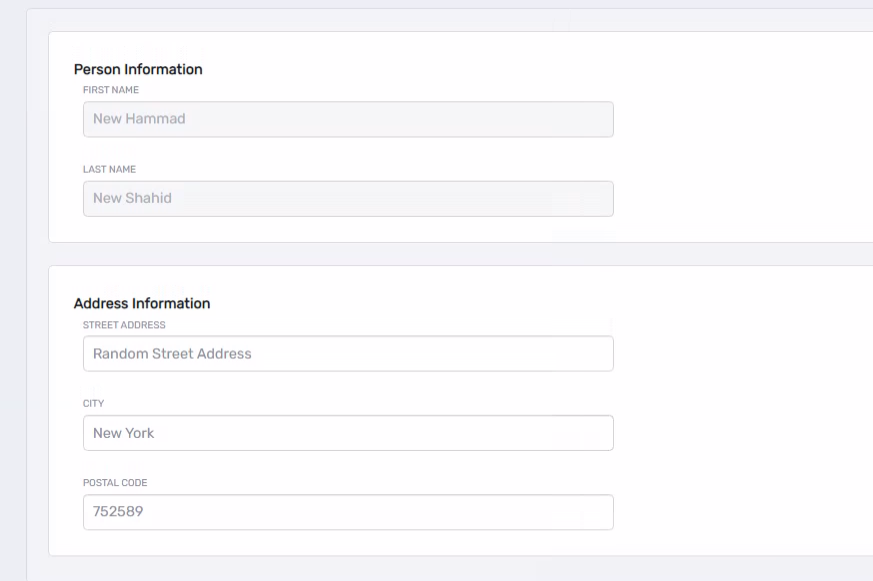
I ran my workflow, and the first image displays my Lookup Control, while the second one shows my Form. As you can observe, the Street Address, City, and Postal Code fields are empty. Let me input some values and submit it. Afterward, I'll re-run the workflow to verify whether the fields have been updated or not.
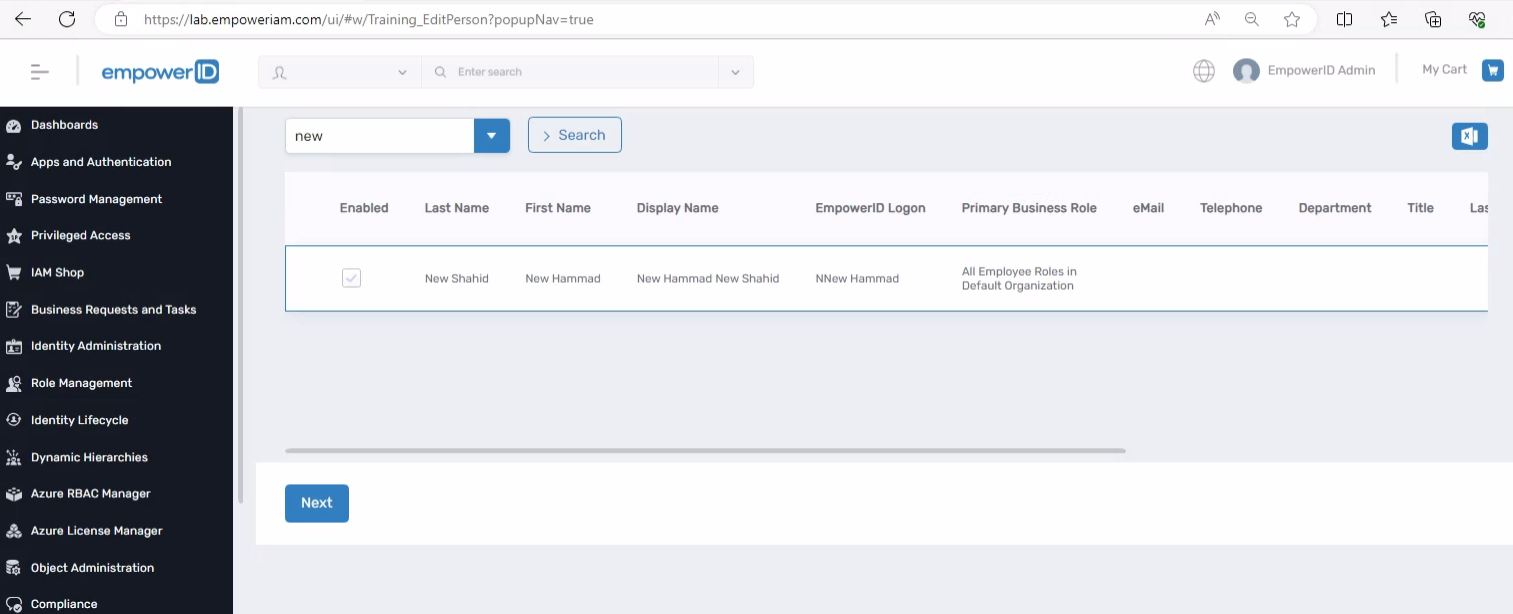
- I reran the workflow to see if the changes I made took place or not and it seems like it worked fine. You can also verify your changes by accessing the database. Refer to the second image.

- End